I realize that I don't really write that often lately. Sorry. Schoolwork is really eating away at me and it takes up most of my time. When I have a moment to spare, I like to watch an episode of two of tv or read a book. Also, it really does take a lot of time to prepare a post, time that I don't really have anymore :(
So it was Halloween a couple weeks ago. I dressed up as a kitty. Unfortunately I thought it would be a good idea to not take any pictures until after I put in some false lashes. I suck balls at putting on false lashes. I managed to get glue seeping into my eyes and it hurt so bad. I ended up ruining the eye makeup. So I only have a few crappy photos I took on my iPhone but I guess it's better than nothing. So again, really sorry that I don't have many photos. For the eye look, I've done countless smokey eye tutorials so I will link some that I have done. I know the makeup isn't theatrical or anything, I just added some cat qualities to beauty makeup. I also didn't have very much time to do this so I realize it isn't the best, but I figured it was better than nothing at all.
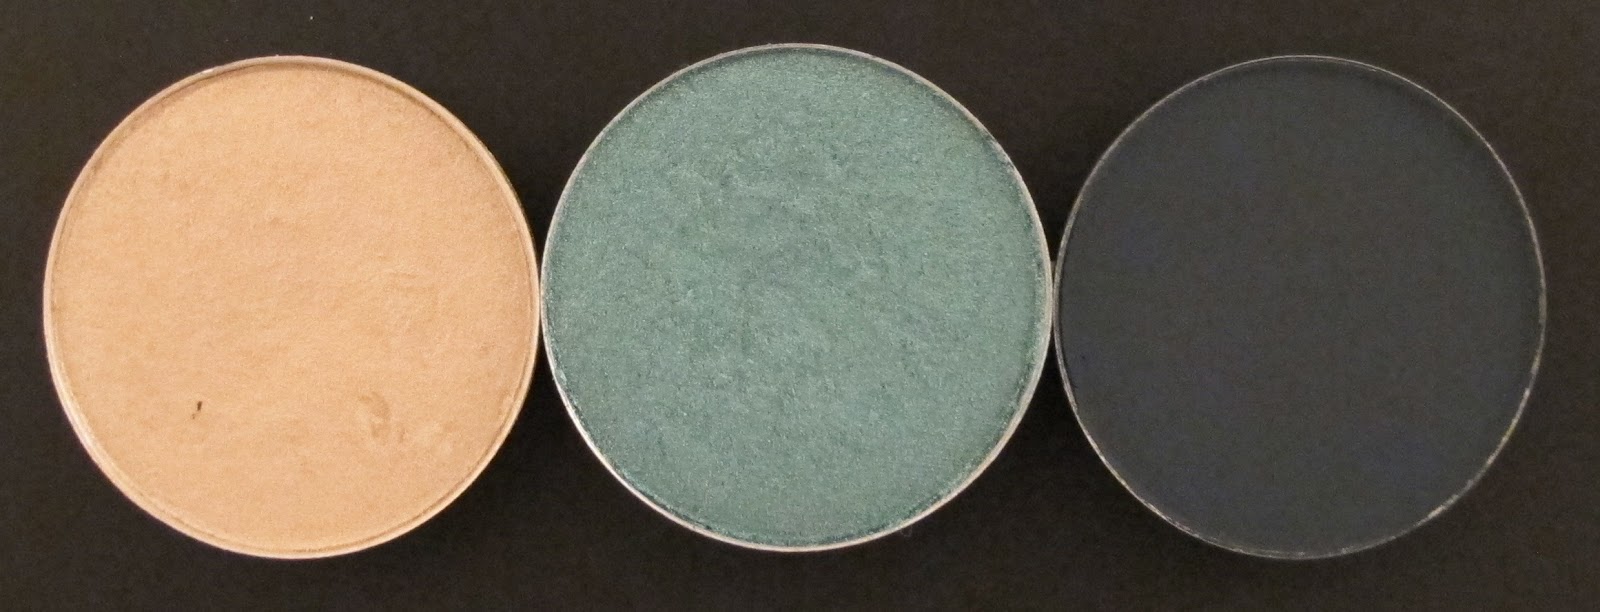
Here is a very old post using the Too Faced Smokey Eye Palette
I know Halloween was over a long time ago but I thought it would be fun nonetheless. Hopefully it'll inspire you for next year's costume!

For the costume, and I forget what they're called but they're not headbands exactly. Like it's curved and you stick it in your hair? Anyways they have ears with little bits of feathery fluff. The material is faux-leather. The tail is also made out of the same material and the tip of the tail has some of that black feathery fluff. It has a loop at the end of the tail so I just put a skinny belt through it. In previous years I took a safety pin and clipped it to my clothes so it would stay in place but it always pulled at my clothes and made a whole. With the belt, it moves around a little but at least I didn't ruin my dress. The dress I bought is dark grey with black leopard spots. I bought it at Dynamite very recently. It has long sleeves and is more of a winter dress (it's not revealing at all). I wore black leggings with it since it was cold that day and I wore my Aldo boots. It's not the world's most creative costume but I liked it.
Cat Halloween Makeup

The Eyes:
Start by priming your eyes with Too Faced Shadow Insurance. Now using the Too Faced Smokey Eye palette, take a tapered crease brush (Sephora Pro Crease Brush) and lightly apply White Lie all over the eye, from lash to brow. Then take a medium shadow brush (MAC 239 Shadow Brush) and pat down Nice Ash onto the lid. Take a blending brush (MAC 217 Blending Brush) and apply Smokin Hot to the crease and blend into the outer V. Now take a liner brush (Stila Smudge Brush) and apply MAC Fluidline to the top lashline. You want to make an exaggerated cat eye, so don't be afraid to wing it way out. Also, you want to apply a bit of liner in the inner corners and really define the inner corners of your eyes. This also deepens the cat eye effect. For the bottom lid, I took MAC Kohl Power Eye Pencil in Feline and I smudged it on my bottom lid. I also tightlined top and bottom lash lines. I made sure that the Fluidline went from the bottom inner corner and blended into the Feline smudged part and that the bottom liner connected to the winged out top liner. If you know what I mean. I applied Too Faced Better Than Sex Mascara. Then I filled in my brows using Benefit Instant Brow Pencil in Medium, but you can fill them in much darker and draw in some cat hairs coming out of the brows if you want. I took my MAC Chromagraphic Pencil in Pure White and I accentuated my brow arch by highlighting it ever so lightly under the arch. I also lined around the inner corners of my eyes to draw more attention to the cat-like eyes.
The Face:
I started off by doing my usual face routine. I primed my face with Too Faced Primed and Poreless. Then I concealed my under eye circles using MAC Select Cover-Up Concealer in NW20 with a concealer brush (Sephora Pro Concealer Brush). Then I applied my MUFE HD Foundation in 110 using a stippling brush (Sephora Pro Stippling Brush). I covered any blemishes with my MAC Conceal and Correct Palette in NW20. Then I powdered my face using MUFE HD Powder and my kabuki brush (MUFE HD Kabuki Brush). I picked a darker bronzer than I usually wear to contour with since we really want to exaggerate the cat-like appearance. By contouring, we are making our cheeks look thinner, just like a cat's face. So, using Too Faced Chocolate Soleil and a contour brush (MAC 168 Large Angled Contour Brush) I sucked in my cheekbones and contoured there. I also contoured the perimeter of the face, the temples, the sides of my nose, etc. I wanted to add the tiniest touch of color to my cheeks (and I really mean the tiniest bit of color) so I used Illamasqua Powder Blush in Nymph and I applied that extremely lightly using my blush brush (Too Faced Powder Pouf Brush). I also highlighted using Too Faced Candlelight and that same blush brush. All that's left now is the cat detailing.
So to draw on the cat features, you only need one main tool. Any good jet black gel liner is perfect. I used MAC Fluidline in Blacktrack and it was more than amazing. Start off by filling in the nose. Remember that a cat's nose is sort of like an upside down triangle. The top part of the nose isn't a straight line, it's more like a very wide parabola shape. It curves up a bit and then back down the sides of my nose. Make sure to fill in the underneath of your nose and around the nostrils. Draw a line going down from the middle of nose and you're going to make a triangle from it, down to your lips. Take a white liner, like MAC Chromagraphic Pencil in Pure White and fill in that triangle above your lips. Then make three dots on each side of the triangle. Those are going to be the whiskers. Take your black gel liner and fill in the middle of the white dots. It helps to do this before the next step, it helped me to see where exactly the mouth part of the cat should be. This next part doesn't need to be dark and thick in color. Just lightly outline the muzzle part of the cat's mouth. Start at the edge of your nose and draw a round circle ending at the outer edge of your lip. Do the same on the other side. Now draw in the whiskers from the black dots. Tah-dah you are done! I took a concealer brush and MAC Concealer in W10 and I cleaned up some of the black edges, especially around the nose and lips. I also highlighted the under eye area a bit using a mix of W10 and NW20. Once you're done, spray Urban Decay All Nighter Setting Spray to hold your makeup in place, especially if you're going out partying.
For the lips, start by lining them with MAC Lip Liner in Cherry. Then fill them in with MAC Ruby Woo Lipstick. If you want a glossy effect, dab on a bit of MAC Lipglass in Clear.

Eyes:
Too Faced Shadow Insurance
Too Faced Smokey Eye Palette
- White Lie
- Nice Ash
- Smokin Hot
MAC Kohl Power Eye Pencil in Feline
MAC Fluidline in Blacktrack
MAC Chromagraphic Pencil in Pure White
Too Faced Better Than Sex Mascara
Brows
Benefit Instant Brow Pencil in Medium
Face:
Too Faced Primed and Poreless
MAC Select Cover-Up Concealer in NW20
MAC Studio Conceal and Correct Palette in Light: W10, NW20
MUFE HD Foundation in 110
MUFE HD Powder
Too Faced Chocolate Soleil
Illamasqua Powder Blush in Nymph
MAC X Antonio Lopez Pink Face Palette: luminizer
Urban Decay All Nighter Setting Spray
For the cat designs:
MAC Fluidline in Blacktrack
MAC Chromagraphic Pencil in Pure White
MAC Studio Conceal and Correct Palette in W10, NW20
Lips:
MAC Lip Liner in Cherry
MAC Lipstick in Ruby Woo
MAC Lipglass in Clear
Products Used:
 |
| Too Faced Smokey Eye palette |
 |
| Too Faced Smokey Eye palette - 45$CAD |
| MAC Chromagraphic Pencil in Pure White - 19$CAD |
| MAC Kohl Power Eye Pencil in Feline - 19$CAD |
 |
| MAC Fluidline in Blacktrack |
 |
| MAC Fluidline in Blacktrack - 19$CAD |
 |
| Too Faced Better Than Sex - 30$CAD |
| Benefit Instant Brow Pencil in Medium - 25$CAD |
 |
| MAC Studio Conceal and Correct Palette in Light |
 |
| MAC Studio Conceal and Correct Palette in Light - 48$CAD NC15, W10 NC20, NW20 Pale Yellow, Pale Pink |
 |
| MAC X Antonio Lopez Pink Face Set |
 |
| MAC X Antonio Lopez Pink Face Set |
 |
| Illamasqua Powder Blush in Nymph |
 |
| Illamasqua Powder Blush in Nymph - 26$CAD |
 |
| Too Faced <3 Sephora 15 Years of Beauty Palette |
 |
| Too Faced <3 Sephora 15 Years of Beauty Palette - 62$CAD, on sale for 47$CAD Chocolate Soleil bronzer |
| MAC Lip Pencil in Cherry - 18$CAD |
 |
| MAC Lipstick in Ruby Woo - 18$CAD |
 |
| MAC Lipglass in Clear - 18$CAD |
 |
| The lovely MUA at MAC drew this out for me to help me get inspired!! |

Thanks for reading. I hope this wasn't too pointless, as I know none of you will be dressing up for the next 12 months until the next Halloween. I would have liked to have more time to perfect this look and to really go deeper into theatrical makeup. This look was more of a beauty cat look than a theatrical one, so you don't need to tell me that it isn't very realistic. I know it's not my best work but I still like it and that's all that matters.
I'd like to see all of your Halloween costumes and makeup, especially fellow kitties!
I'll try to starting posting more regularly. I've gotten a bunch of new stuff to play with but I haven't had a chance to do a tutorial or a review yet. Target just opened so I finally bought my first NYX products and it's actually pretty good. I already know some of the things I'm getting for Christmas and I can't wait to play with it all! So I promise to start posting more regularly. I'll also try to catch up on all the posts I said I'd do but didn't.
Steph xo.