
And especially younger readers because today's post is specifically for you. I initially planned on doing this post quite a while ago, back when school just started. Forgive me for posting this so late, but I think it's always worth it to learn about how you can be planning your "professional" makeup look a little better, don't you think? It's never too late to re-assess your daily makeup routine and improve it.

I can tell you right now that at my old high school, we had a very strict no makeup policy. We were able to get away with wearing a bit of concealer and mascara here and there but if you were caught, you had to go to the washroom and take it off. If it was waterproof, you ended up scrubbing your skin off. I think that having a no makeup rule is a good thing, it's honestly one less thing to worry about. I mean, would you really want to be concerned with how you were going to wear your makeup that day and which brands you would use so that you could impress all the popular girls? Yeah, didn't think so. And it's also better for your skin that it gets to breathe. But if you do want to wear a little bit of makeup, stick around for a light makeup look. Remember, less is more.
But what if your school allows makeup (meaning you're in college)? Then how should you wear it? School isn't a place to show off how you're planning on doing your makeup at that party coming up this Saturday night. So no club makeup, no smokey eyes, nothing too dramatic. You really want to keep it simple. So you can enhance your features with a bit of help from our friend, makeup. You want the makeup to look effortless. You want to make people think that you woke up like that, looking all beautiful.
Stick around to see a very natural makeup look towards the bottom.
Makeup Policy Makeup
I can say that we've all cheated back in high school when we weren't allowed to wear makeup. The trick to this look is to wear the least amount of makeup possible, because if they realize you are wearing an ounce of makeup, they make you take the whole thing off. So the trick is to keep it very low key and to not get caught. I'm going to give you suggestions and the point isn't to wear everything that I've suggested. Pick and choose between what you would like to wear the most and eliminate things that you don't normally wear. This look is most appropriate for very young teenagers in high school. I want to stress that this list is by no means the minimum amount of makeup you should wear, in fact, it is the opposite. Remember that less is more.
Eyes:
Nude or Highlighting Eyeshadow (MAC Shroom or Stila Kitten)
Mascara (Benefit Bad Gal Lash or Too Faced Lashgasm)
Brow Pencil (Benefit Instant Brow Pencil)
As a teenager, the most I did was put MAC Shroom on my eyelid. If you want to even out the color of your eyelids, you can use a very light neutral color (MAC Cork). If you want to look more awake, I would suggest more of a highlighting color (like Shroom or Stila Kitten). And if you want, you can also apply a light coat of mascara. Also, if you are so inclined, you can also fill in your brows real quick using a pencil. For high school level, this isn't really necessary unless you don't actually have any eyebrows.
Face:
Concealer (MAC Select Cover-Up Concealer for under eye circles, Studio Finish for blemishes and acne)
Tinted Moisturizer or BB Cream (Too Faced BB Cream)
Loose Powder (MUFE HD Powder)
Blush (Benefit Bella Bamba)
Honestly, a teenager does not need to wear loads of foundation and concealer on their face. You've got perfect baby skin. If you have dark under eye circles, I suggest wearing a concealer. I didn't wear foundation or bb cream (BB cream didn't even exist back then) but if you really want to wear something on your face I would suggest a tinted moisturizer or BB cream. If you have any acne or pimples or redness, use a cream concealer. If you are going the makeup route, I would suggest the tiniest touch of blush to add color back to your cheeks. I never wore blush in high school. Honestly, you really don't need to wear much makeup. Less is more. That is key. Oh and don't forget to set your makeup with a good powder!
Lips:
Lip Balm (EOS)
All you need for your lips is lip balm. For the fashionista in you, wear a light pink lipgloss. My favorite as a teenager was MAC Cultured and MAC Oyster Girl. Nowadays, the "cool" lip balm is that EOS one that looks like an egg.
No Makeup Policy Makeup
After high school you would probably think "yeah finally I can wear makeup!" but honestly, that statement is a little overrated. Sure, you can finally choose what to wear each day, but each morning you find yourself thinking "what the hell should I wear today?"everyday and "but I just wore that shirt yesterday". At least with a uniform you never had to panic over what you were going to wear that day. Same goes for makeup. I'm the kind of person that likes to switch it up everyday. I don't wear a set makeup look to school and work. I'm always trying out different products, especially for this blog now. So here I'll try to give you an example of something that I would wear everyday for school and work. The makeup look I'm describing in this section is for the older teen, the off to college teen. I've been really liking this look a lot lately.
I have done a similar look, the eyes are the same but the rest is diff. If you want to see this look, it's 10 Minute Makeup - Light, Work Appropriate, and Fast for the Gal on the Go. This is a great example of another makeup look that is perfect for the college girl.

Eyes:
Eyeshadow Primer (Too Faced Shadow Insurance)
Shimmery Beige Highlight Shade (MAC Shroom)
Medium Matte Brown Shade (MAC Charcoal Brown)
Shimmery Light Pink Highlight Shade (MAC Naked Lunch)
Gel Liner (MAC Fluidline in Blacktrack)
Pencil Liner (MAC Powerpoint Eye Pencil in Engraved)
Mascara (Too Faced Better Than Sex)
Brow Pencil (Benefit Instant Brow Pencil)
Prime your eyes, this will give you a good base to start on. Then apply MAC Shroom to your lid, MAC Charcoal Brown to your crease and then MAC Naked Lunch as a highlight under the brow bone. Then take a black gel liner and line your top lash line in a cat eye fashion (wing out the ends). Then take a pencil liner and tightline your top and bottom lash lines. Fill in your brows if necessary. I've posted this look before. I like it a lot.

Face:
Face Primer (Too Faced Primed and Poreless)
Concealer (MAC Select Cover-Up and MAC Studio Finish)
Foundation (MUFE HD Foundation)
Loose Powder (MUFE HD Powder)
Blush (Benefit Bella Bamba, Too Faced Secret to No Makeup Makeup)
Bronzer (Too Faced Bronzed and Poreless, Too Faced Secret to No Makeup Makeup)
This is the standard face routine that I go through currently. I usually add a highlighter/luminizer, but we don't need that for today's purposes. You can even skip on the face primer, but it does a lot of good honestly. Concealer and foundation are important (MAC and MUFE, respectively). If you have great skin, opt for bb cream instead. Also, get yourself an all-in-one face palette, it makes life so much easier, and your makeup bag so much lighter. I like to contour with my bronzer, but you honestly don't even need a bronzer, or just dust it lightly all over your face. A good blush will brighten up your face and give it some dimension. For a long time, Benefit's Bella Bamba was my go-to blush. Nowadays, I switch around often.
Lips:
Lipstick (Too Faced La Creme in Marshmallow Bunny, Chanel Rouge Coco Shine in Candeur)
Lipgloss (NARS Sweet Dreams, Turkish Delight, Too Faced Barely Legal)
Lip Balm (EOS)
Any nude or light pink lipstick or lipgloss is key for me. I like to keep it very natural looking. My favorite is Chanel's Rouge Coco Shine lipstick in Candeur. I love it, it's so moisturizing! It feels like a lipgloss. Something a little cheaper would be NARS Turkish Delight and Sweet Dreams lipglosses, Too Faced Glamour Gloss in Barely Legal, etc. Can't go wrong with a good lip balm like EOS or Fresh either.
My Low-Key Makeup Look
This makeup look is an in-between of the two looks I talked about. It takes things from both looks for a sort of mash-up. So don't take it for a definitive what to wear to high school look because it's not. I also used my fingers to save time. I'm not kidding when I say less is more. You're young and beautiful and don't need makeup. I had low self-esteem throughout high school. You don't need to hide behind a mask, you're beautiful. If others don't see that, then it's their loss, NOT yours. So with that said, here's my intermediate look:

Eyes:
Benefit Stay Don't Stray Eye Primer
Stila Eyeshadow in Kitten
Stila Smudgestick Waterproof Eyeliner in Angelfish (LE)
Benefit Bad Gal Lash Mascara
Benefit Eye Bright
Benefit High Brow
Benefit Brow Zings in Light
Prime your eyelids with Benefit Stay Don't Stray. Apply Stila Kitten to your lid using your finger or a brush. Blend it out slightly past the crease, but concentrate most of the color on the lid. Apply Stila Smudgestick in Angelfish to the top and bottom lids. To make your eyes look brighter put Benefit Eye Bright in the corners of your eyes and blend it out with your finger. I sometimes like to apply it to my waterline to make my eyes look more awake. Then apply one coat of Benefit Bad Gal Lash mascara. To highlight the brow, apply Benefit High Brow directly under your brows. Now fill them in using Benefit Brow Zings. Voila! Your eyes are now more beautiful!


Face:
MAC Select Cover-Up Concealer in NW20
Too Faced Air-Buffed BB Creme in Snow Glow
Too Faced Primed and Poreless Loose Powder
Too Faced Candlelight
Too Faced The Secret to No Makeup Makeup Palette
- Luminizer
- Power Blush
- Bronzer
Urban Decay All Nighter Makeup Setting Spray
I didn't apply a face primer, but do as you like. Cover up those undereye circles using MAC Select Cover-Up Concealer and your finger. Then apply Too Faced Air-Buffed BB Creme all over your face. I prefer to use my fingers because the body heat warms up the products and makes it more pleasant to deal with. Everytime I use this BB cream I realize how much I don't like it but I'm trying to use it more because I hate having products sit there not being used when I paid good money for them. I much prefer their first Tinted BB Cream, which was liquid. If you're using the cream one, definitely make sure you set it with a good powder, like Too Faced Primed and Poreless Loose Powder. Next take your trusty Too Faced Secret to No Makeup Makeup Palette out. Contour your cheeks using the Bronzer and get the perimeter of your face, temples, etc, as well. Apply the Powder Blush to the apples of your cheeks and blend outward and into the bronzer. Then take the Luminizer and apply it to the tops of your cheekbones, the top arch of your brows, the cupid's bow. Then go over all those places with Too Faced Candlelight for added glow. Also get the chin, down the nose, and the forehead. Remember to spray your face with Urban Decay All Nighter Makeup Setting Spray if you want your look to last from the morning til the evening. Your face should now look spectacular.


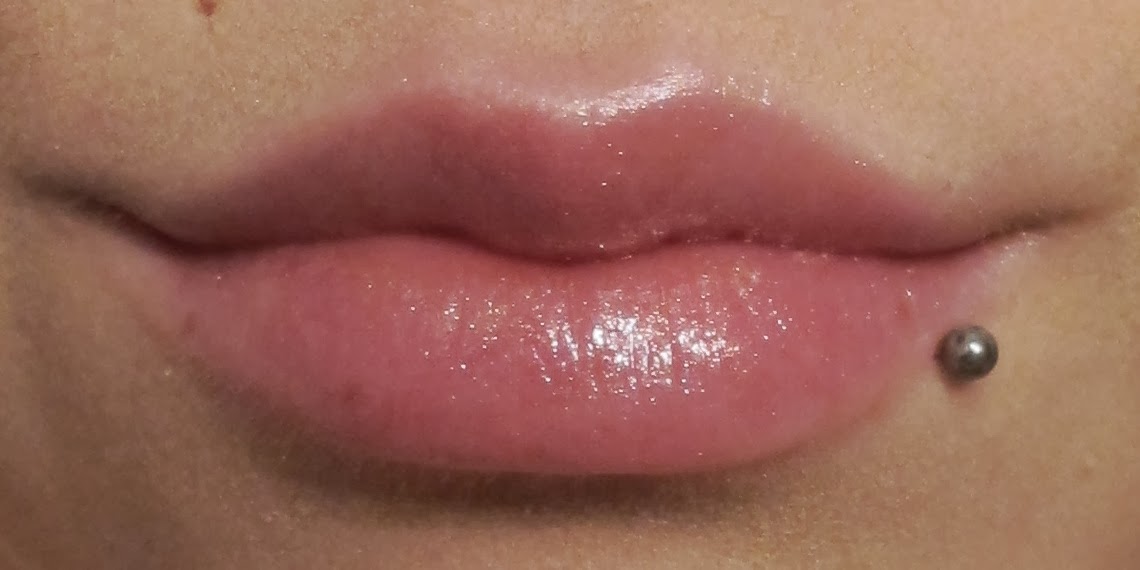
Lips:
NARS Lipgloss in Sweet Dreams
Lastly, apply a nude or light pink lipstick, like NARS in Sweet Dreams. The makeup look is complete and you should be looking great for your first day (or 50th day) of school!

Products Used
 |
| Stila Eyeshadow in Kitten - 23$CAD |
 |
| Stila Smudgestick Waterproof Eyeliner in Angelfish (LE) - 26$CAD |
 |
| Benefit Bad Gal Lash Mascara - 12$CAD for the mini. 26$CAD for the fullsize |
 |
| Benefit Eye Bright - 25$CAD |
 |
| Benefit High Brow - 26$CAD |
 |
| Benefit Brow Zings in Light |
 |
| Benefit Brow Zings in Light - 36$CAD |
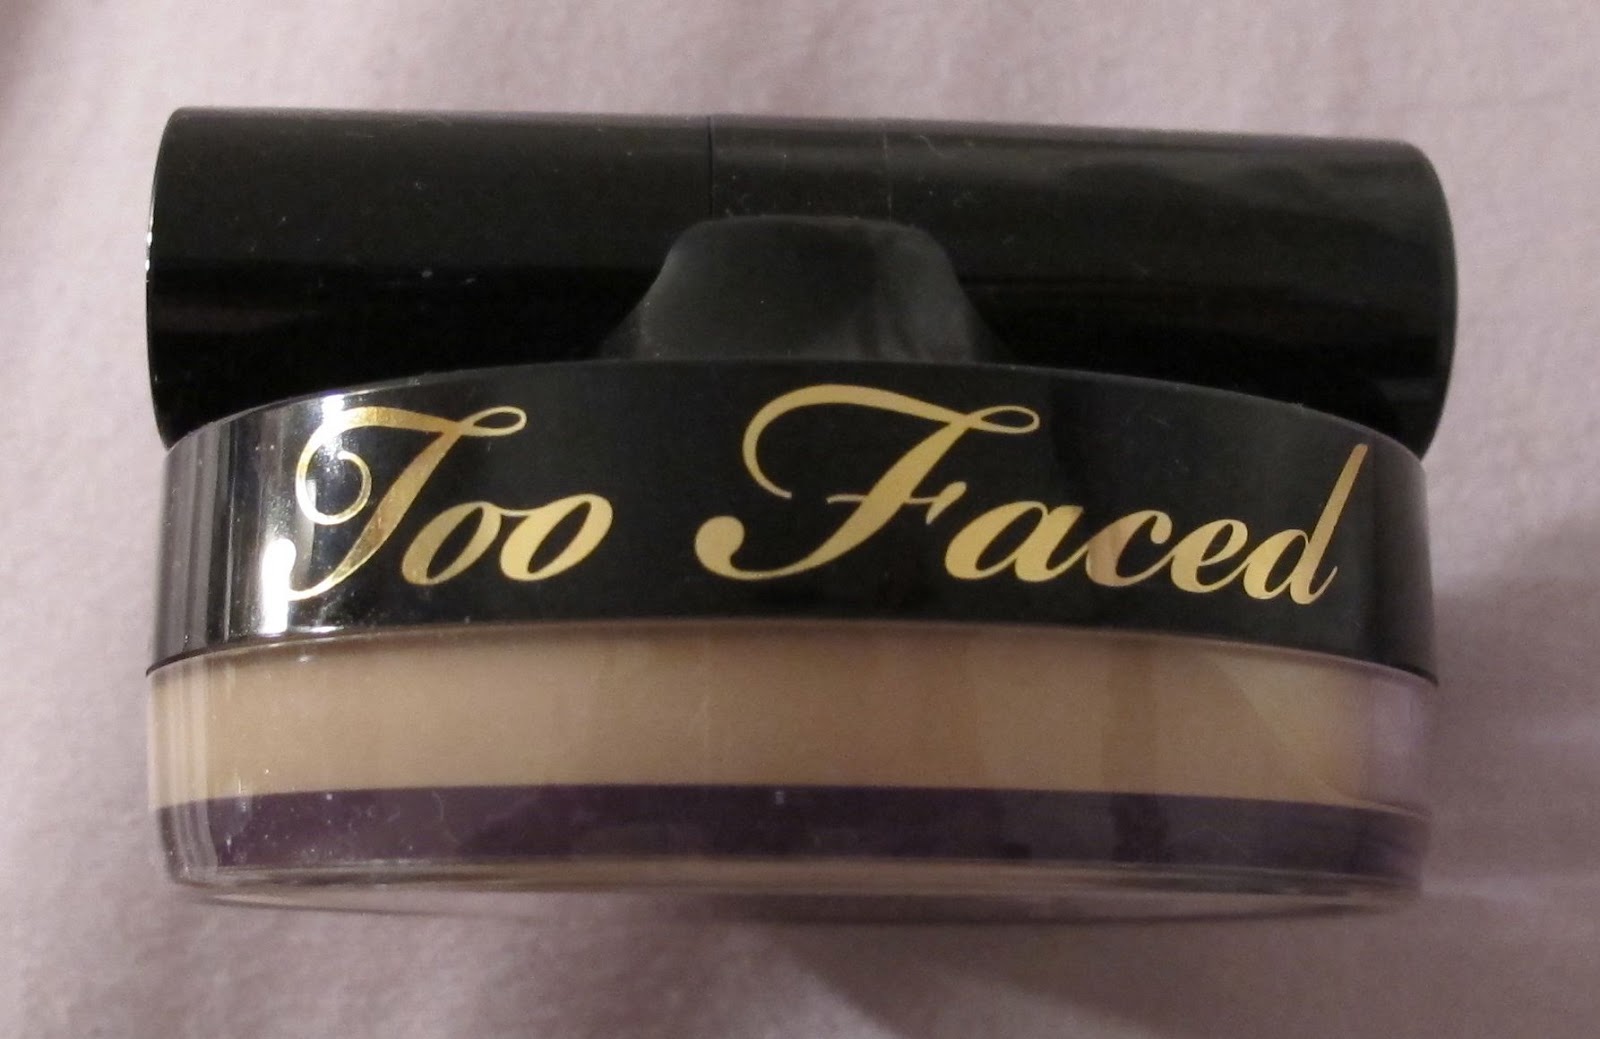 |
| Too Faced Air-Buffed BB Creme in Snow Glow - 48$CAD |
 |
| Too Faced Candlelight |
 |
| Too Faced Candlelight - 38$CAD |
 |
| Too Faced The Secret to No Makeup Makeup Palette |
 |
| Too Faced The Secret to No Makeup Makeup Palette - 48$CAD |
 |
| Urban Decay All Nighter Makeup Setting Spray - 15$CAD for the new mini (2X the size of the pic) and 35$CAD for the fullsize |
 |
| NARS Lipgloss in Sweet Dreams - 29$CAD |
 |
| Swatches from left to right: Stila Eyeshadow in Kitten Stila Smudgestick Waterproof Eyeliner in Angelfish Benefit Eye Bright Benefit High Brow Too Faced Air-Buffed BB Creme in Snow Glow Too Faced Candlelight NARS Lipgloss in Sweet Dreams |
 |
| Swatches from left to right: Too Faced The Secret to No Makeup Makeup Palette Concealer Luminizer Brightener Cream Blush Powder Blush Bronzer |

Thanks for reading today's post and I hope it wasn't too long! I had really been meaning to do a Back to School Look for quite some time now! I hope that this post was informative and helpful and that hopefully you took something away from this. I really want to stress that for younger teens, less is more. You really don't need a full face of foundation. For college-bound girls, obviously makeup is more acceptable but you have to limit the amount you wear. It's not time to test-drive Friday night's look.
So what did you think of my Back to School look for all the youngsters out there? If it wasn't for the fact that I wore this look out today, I would have tried to do an actual look for a young high school girl. But I'm not running around with absolutely no makeup :P I really tried to keep it simple as much as possible. Obviously, you don't need to go and illuminate your eyes like crazy like I did. But you catch my drift. Stila Kitten is such a beautiful eyeshadow color, no wonder they're famous for it. I really like the Kitten eyeliner (actually called Angelfish), it pairs very well with the shadow. I didn't want to do a harsh black liner, so this was perfect to keep it natural. If I'm doing very natural eyes like this, I like to take the face a step further and start highlighting and luminizing. I think it just gives a great glowy appearance and makes you look more alive. Benefit has some great pencils that do just that. One thing I didn't like is Too Faced's new Air-Buffed BB Creme. Everytime I use it I remember why I stopped using it. The consistency of the cream sucks. It never ever sets and it just doesn't lie on the skin nicely. Also, I've noticed that it's been causing breakouts whenever I use it. I'm sad to say that this is my first product from Too Faced that I'm truly disappointed in. I wish I could say I love it, but it's far from it. I hope that you girls are able to get better results from it than me. What I did love from Too Faced is their Secret to No Makeup Makeup palette. That palette comes in handy, especially in your purse! It really has everything you need, especially for a younger girl cuz you don't even need foundation! I've spoken loads already about the other products, you should know I love them.
What did you think of the look itself? Would you wear this to school? And what products do you wear on a school day? Show me your lists and pictures! I'm curious to see your looks!
That 10 Minute Makeup post is here if you want to check it out.
Steph xo.


